Sunday, October 28, 2012

Spooky Eyes and Spider Web Nails

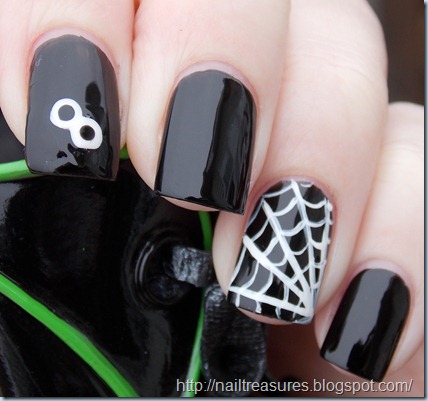
Nothing original today, but I still like them. I don’t think I could go a Halloween without spider webs. They’re so classic and easy! This was actually my first time making a white spider web, though. I usually do black, but this is a nice change :) I’m not too used to black nail polish on myself, either, but it’s so different for me that I am coming to love it. It can be really sophisticated if you want it to be… but not today- today I went for a more fun approach!

DSCN1295 DSCN1298

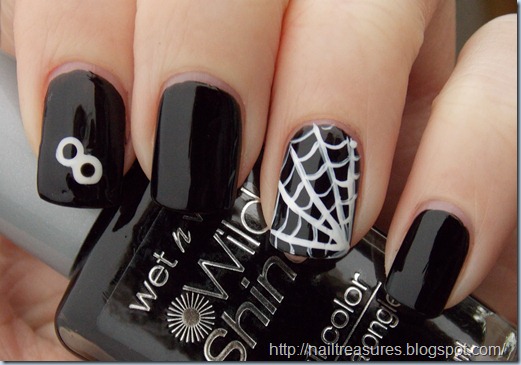
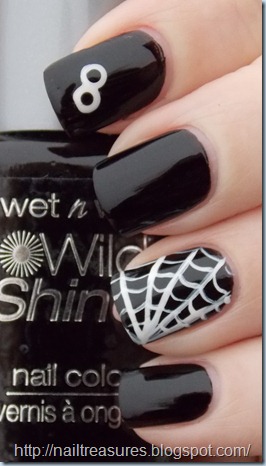
I used two coats of Wet n Wild – Black Crème for my base on every nail. For my index finger, I made two white dots just touching one another, then added two black dots inside to make a pair of eyes. I used a white Stripe Rite striper to make a spider web on my ring finger.

DSCN1300

Halloween is almost here! Is anyone going to any parties and/or dressing up? My neighborhood likes to get together to have a small Halloween party (by party, I mean they just pass out treats to the kids so they don’t have to go from door to door) each year, so I just wore white and orange eye shadow and made a spider web on the outside of my eye with black eyeliner. I went all out, right? Haha!

Saturday, October 27, 2012

Abstract Breast Cancer Awareness Nails 2012

I had an inner conflict with myself this weekend: should I paint my nails with at Halloween theme, or a breast cancer theme? I went for breast cancer because I figured I would be painting Halloween nails next week- given next week is Halloween.

DSCN1292

DSCN1291

DSCN1288

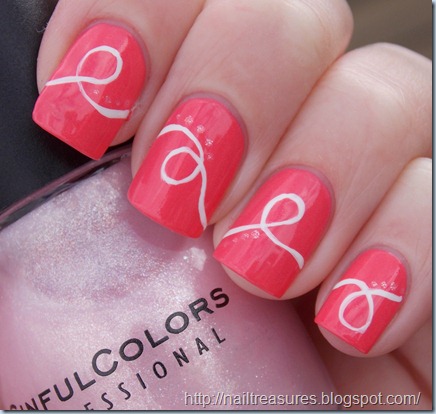
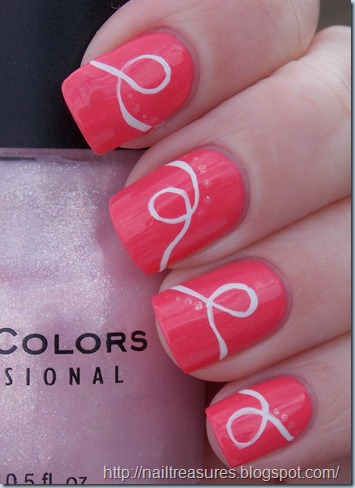
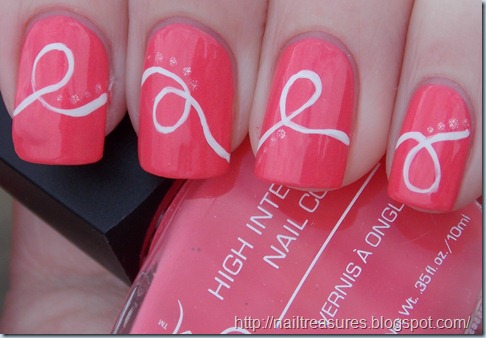
I used 3 coats of Jesse’s Girl – JulieG*  as my base, and then made white ribbons using a  white Stripe Rite striper. To add a subtle sparkle, I added small dots around random areas of the ribbons using Sinful Colors – Glass Pink.

Also, you may have been able to notice a little bit of unevenness in my index finger. It broke down to the meat, leaving me no other choice than to cut them and fix it with nail glue and a tea bag.

*I am seriously in love with JulieG! The color is so pretty! Definitely on of my favorite pinks/corals. I don’t wear it enough! Every  single time I wear it I think “This polish is GORGOUS!!” I’m not sure about a lot of polishes I have, but I know I would repurchase this one if when I run out!

What kind of nails are you currently sporting? Halloween, breast cancer awareness, or neither?

Sunday, October 21, 2012

Eyeball French Tips + A Halloween Visitor

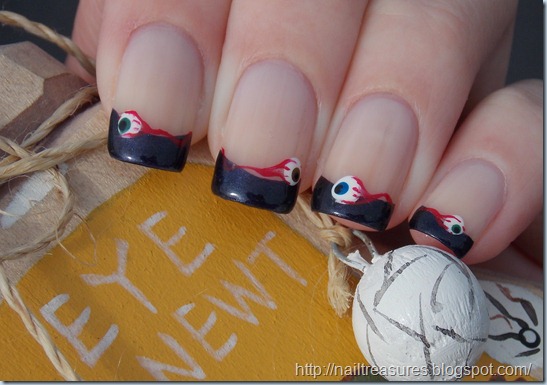
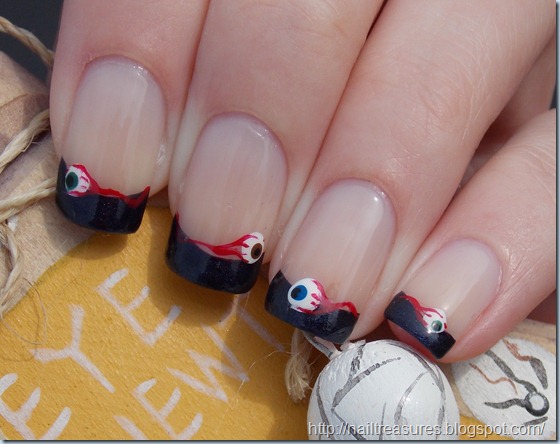
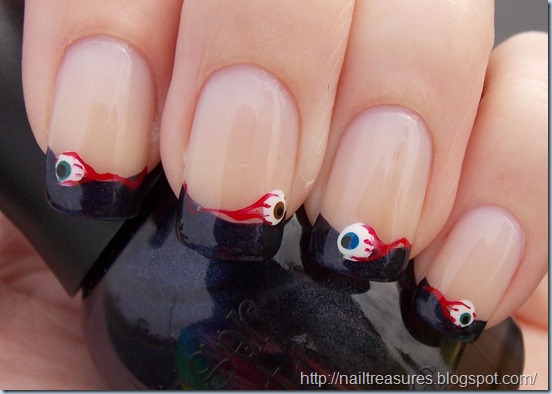
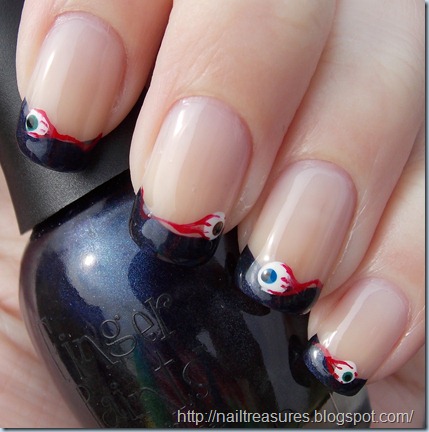
Since I haven’t done any actual Halloween nails this year, I decided to go for some eyeball tips.

DSCN1236

DSCN1237

DSCN1248

DSCN1243

I used two coats of Rimmel London – French Rose as my base, and then added two coats of Finger Paints – Gallery Glam to my tips. One each nail I added a somewhat large white dot, and added either a blue (I think I used L.A. Colors – Splash), green (Finger Paints – Go Van Gogh!), or brown (China Glaze – Mahogany Magic) dot to make the iris. Next, I added a black dot in the iris to make the pupil. The final step for the eye was to take a striper dipped into red polish to make the blood vessels. I added a few coats of a glow-in-the-dark polish at the tips, so that is why it looks a little bulky and uneven.

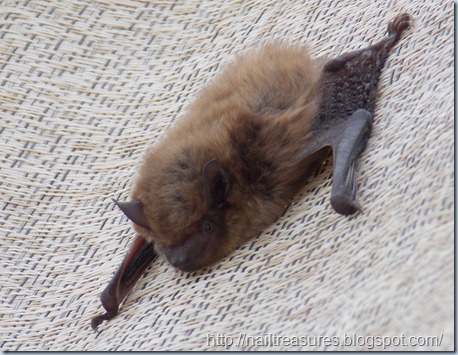
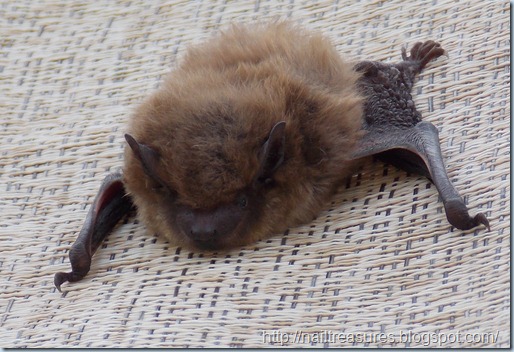
The day I painted my nails, I also saw a little bat attaching himself to my patio umbrella:

DSCN1210

DSCN1211

Isn’t he adorable? This makes me want a bat as a pet :)

Sunday, October 14, 2012

Spider Web French Tips

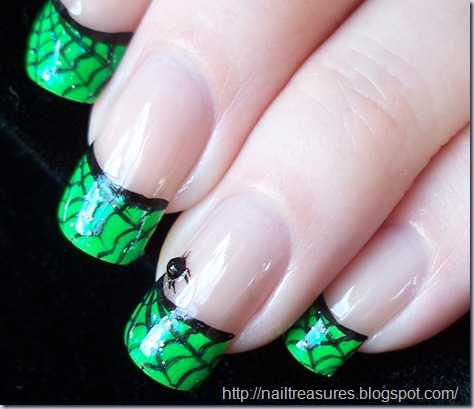
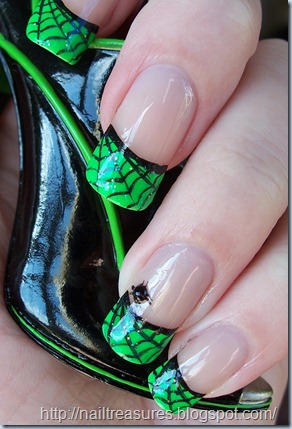
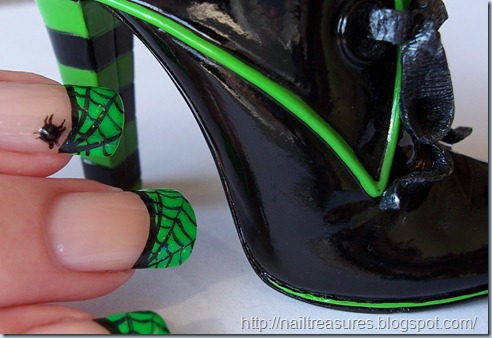
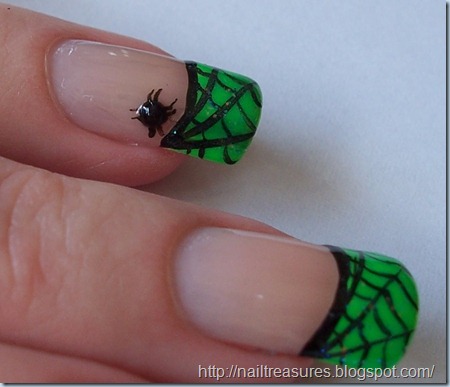
These nails are from last year’s Halloween, but I still really like them. I think my favorite part of them is the little spider!

102_1909

102_1895

102_1897

I started out with a french base, then used a neon green polish to make my tip. I created the spider web with a black striper. Some finishing touches included using a glow-in-the-dark polish over my tips, and I added a small black half pearl and added little legs coming from the sides, to resemble a spider.

102_1905

Have a great day!

Wednesday, October 10, 2012

Edgar Allan Poe Nails

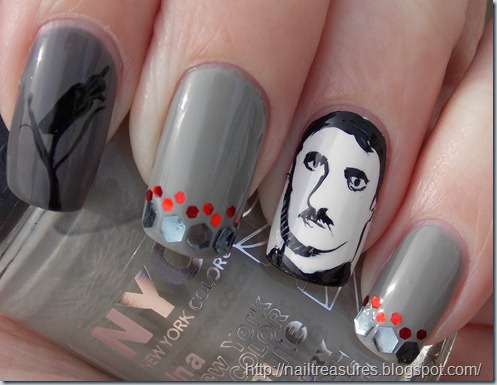
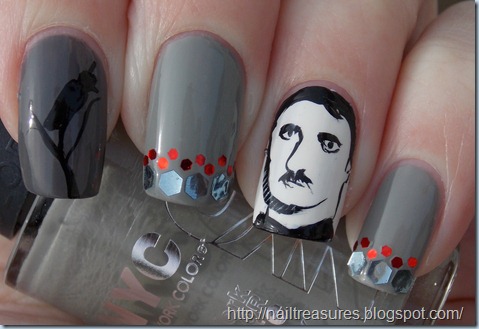
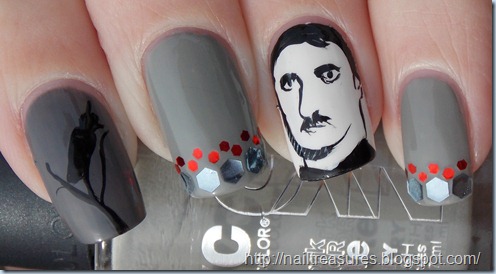
I wasn’t feeling the whole traditional Halloween nails this week, so I decided to go for Poe nails. I’d say it’s pretty perfect timing, too, because The Raven movie is coming out soon, which is based off of Poe’s work. These nails were inspired by Edgar, himself, and The Raven.

DSCN1196

I used Pure Ice – Kiss Me Here on my index fingers, then used a Stripe Rite striper in black to create a raven in a tree silhouette. For my ring fingers I used 2-3 coats of Sally Hansen – Pure White Tip, and tried to replicate a picture of Poe with my striper. I used a white Stripe Rite striper to make thin white lines around his jaw, so show that it was a shadow, and not a thick line by mistake. For the rest of my nails I used 3-4 coats of New York Color – Sidewalkers, and placed large grey and small red hexagon glitters along my tips.

DSCN1187

DSCN1192

I hope you all enjoyed these nails! I’m pretty pleased with them! This is only the second time I attempted to paint a person on my nails, aside from my Seether nails.

Do you think this was a fun Halloween(ish) mani?

Tuesday, October 9, 2012

Guest post at cats-n-nails

This is just a quick post letting you all know about a guest post I did for the lovely blog cats-n-nails!

image

My mani was inspired by my love for Australia, so please check it out! While you’re there make sure to check out Natalia’s posts as well!

Monday, October 8, 2012

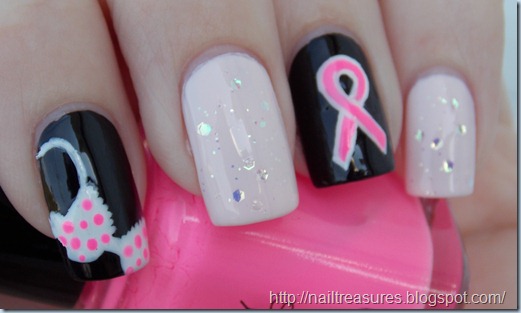
Breast Cancer Awareness Bra and Ribbon Nails

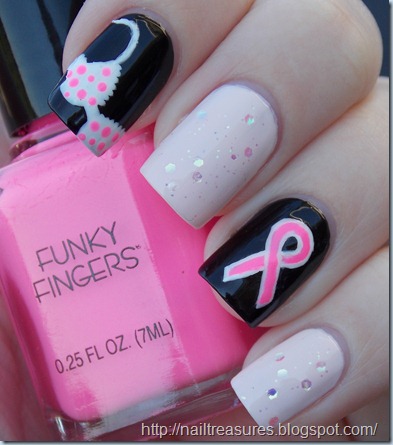
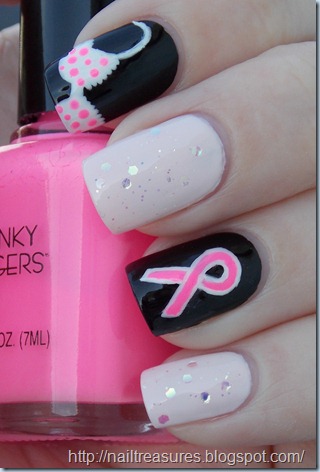
I wasn’t going to include “bra” in the title because I wanted to see if anyone could tell that what I painted was a bra, because I was shocked that the people I showed my nails to needed a lot of hints and guesses to tell that it was a bra on my index finger. I ultimately decided to include it in the title because what if someone was searching “Bra Nails” (very unlikely, but possible :) )? They need some key words to help them get here, right? You’re welcome to those of you who were, indeed, searching for bra nails :)

DSCN1119

DSCN1126

DSCN1131

For my index and ring fingers, I used one coat of Wet n Wild – Black Crème as my base.

For my index finger I used Rimmel London – French Tip White Tip Liner to make my bra. I then used a nameless Funky Fingers mini bright pink polish to make the polka dots.

As for my ring finger- I made a basic ribbon using the nameless Funky Fingers, and then outlined it with my Rimmel London White Tip Liner to make it look like one side was crossing over the other.

For the rest of my nails, I used 2-3 coats of Sinful Colors – Easy Going, and one coat of Kleancolor – Take A Hint to complete my mani.

Have a great day!

Saturday, October 6, 2012

Guest Post from cats-n-nails: Shoe-spiration Series: Rock Chick Tutorial

I was very flattered when Abby asked me to do a guest post! Her blog is amazing and she does very creative designs (check out her fish scale post).

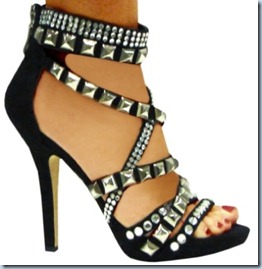
Today I have a special edition of my Shoe-spiration series of designs. The shoe I picked is probably a bit too much in real life, but perhaps my mani rendition will be a bit more appropriate to everyday wear:

Shoespiration

This turned out to be such a simple and straightforward design – absolutely anyone can do it! My main tips – take your time and add the details one nail at a time.

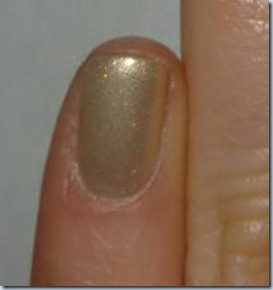
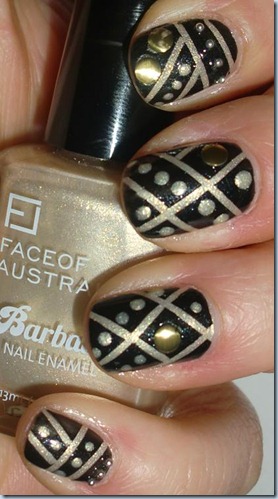
Step 1. I started out with a couple of coats of a gold shimmer (I used Face of Australia Calypso Gold from the Barbados Collection).

Step1

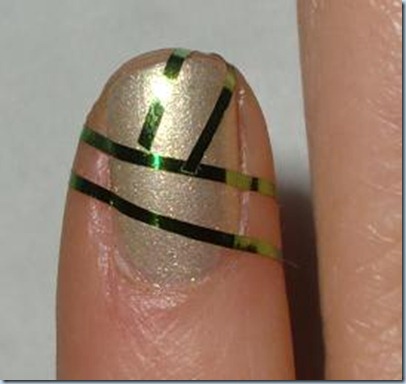
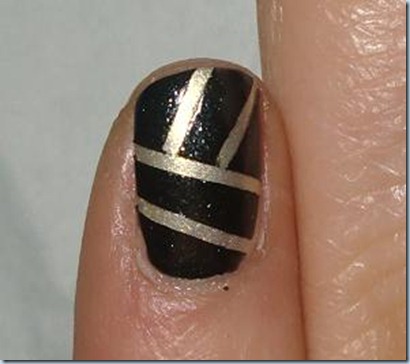
Step 2. Next I applied some striping tape in a somewhat random criss-cross pattern.

Step2

Step 3. Add a coat of black over the striping tape (I used Face of Australia Iron Ore – a black with some silver shimmer in it, just to make it more interesting and add some texture)

Step3

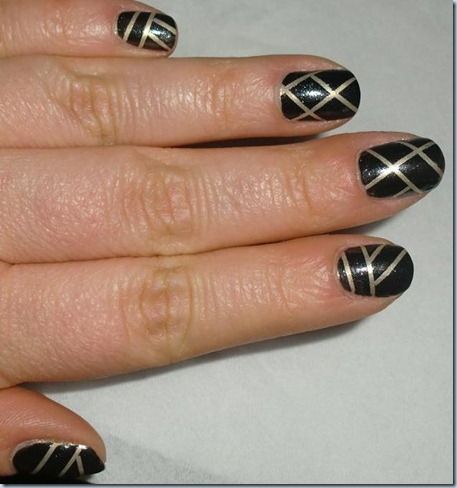
Step 4. Remove the striping tape very carefully using tweezers (this is why you should do one nail at a time, before the polish has fully dried)

Step4

Step 5. I continued this with all the nails, alternating the patterns slightly for each nail.

Step5

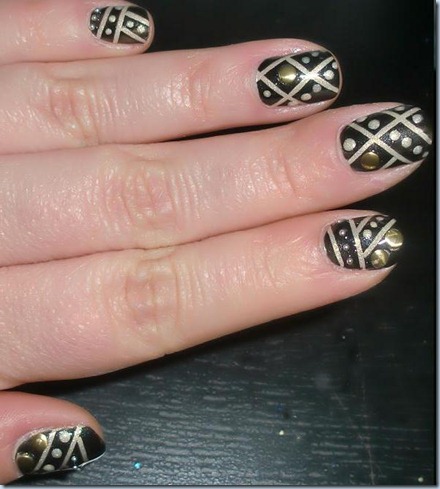
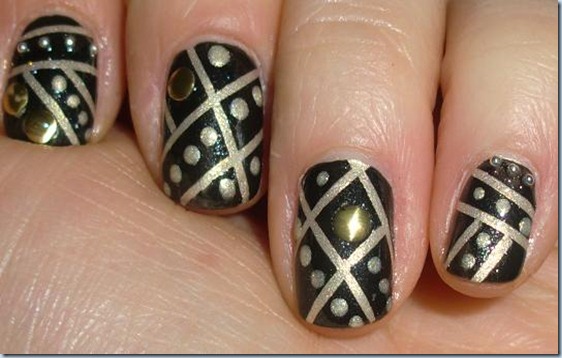
Step 6. This is the creative step – gather all the little bits and pieces (beads, rivets and glitters) and get to work! I also used the base colour and dotting tool to make some dots.

 Step6

Step6a (1)

Step 7. When everything is dry to the touch slap on some top coat to secure the small details in place – then you’re done!

CoverPhoto

This has been fun – creating and writing up this post! I hope this step-by-step gives you enough information to try and recreate this design – if you do, hit me up! I’d love to see your interpretation)))

Once again “Thanks!” to Abby for letting me take over her blog. Cheers)))

I highly recommend that you check out cat-n-nails. She is an extremely nice person, her nails are gorgeous, and her cats are adorable.

I must thank Natalia for guest posting for me! She did an amazing job! I think I may have to try this look out! I’m actually in the works of making a guest post for her blog, so hopefully mine will be as good as hers!