Wednesday, August 28, 2013

Portal Nail Art

I’m not sure how many of you know this, but I go to high school for half of a day, then go to a vocational-technical school for the other half. I go for cosmetology (shocker, right?) and today was the first day of tech. I loved it last year, and now that I’m a senior, I know what to expect and the year is basically a review for me :) Anyhow… everyone wanted to see my nails and before I let them see, I started with, “My brother convinced me to play a video game, and my nails were inspired by it.” Nobody actually knew the game except my friend who demanded a picture to show his friend who is also into the game.

My top coat was goopy and I didn’t feel like adding thinner to it, so it didn’t go on very smoothly and left some bubbles. Grr.

DSCN3265

DSCN3262

The quality of the photos below are pretty poor, so I decided to put more than the usual amount in, in hopes that it gives you a better image of the theme.

portal nails 4

portal nails 3

Now, I should explain them:
Index fingers: Companion cube (a cube that you use for an entire level. It will never threaten to stab you.)
Middle fingers: the logo
Ring fingers: two portals
My right pinky: “The cake is a lie.” (a sentence that is written over and over in ‘secret’ ‘rooms’)
My left pinky: the cake that is a lie (or is it?)

portal nails 1

I hope you all enjoyed my Portal nails!

portal nails 2

Have you played Portal? Have you done video game nails?

Thanks for reading!

Sunday, August 25, 2013

Textured Starfish Nail Art

I figured I better post these nails while the weather is still nice and summer-y here. These nails are from a few weeks ago, but nonetheless fun.

 DSCN3120

This is my first time using textured polish for nail art, and I must say that I LOVE it!

DSCN3123

I used Finger Paints – Don’t Make A Scene. I then sponged on Tea Beauty – Mint Leaf to the tips of my index and middle fingers. The starfish were made with China Glaze – Toe-Tally Textured.

DSCN3126

Are you a fan of textured polish and/or textured nail art?

Have a great day :)

Wednesday, August 21, 2013

Taupe Swirl Nail Art Tutorial

Today’s nails are really simple, but still pretty. I wanted to use one of my many taupe polishes, so this is what I ended up with.
I also rounded my nails a bit to make the squoval because my legs are really dry and sometimes inflicted damage on myself when curing the itch. TMI?
DSCN3247
I used a base of Essie – Chinchilly. The white swirls were made with a white Stripe Rite, and I used L.A. Colors Art Deco – Gold Glitter to make a subtle golden line. I used a matte top coat to finish it off.
DSCN3255
DSCN3248
Are you a weeee bit curious on how I did this? I made my FIRST video!! I’m not very happy with it because the lighting is terrible and I was off frame a bit. If you have any tips, suggestions, etc., let me know. I highly doubt I will be making many videos in the future (mainly because it’s a giant pain!!!), but I do have a few in mind.
Thanks for reading!

Monday, August 19, 2013

Chowder Nail Art

A few days ago my brother and I were talking about how there aren’t any good cartoons for kids these days, and then he mentioned Chowder. He went on to say how stupid we originally thought it was, and then once we watched it, we thought it was the funniest dumb show! …And now I sit here, typing this with Chowder and Shnitzel on my nails…

To be honest, I haven’t been in a paint-my-nails mood. I like the idea of having fun nails, but don’t want to sit down and do something intricate. I’ve also been lacking in the creative department. With that said, I know I could have don’t a lot better with these nails, but they’ll just have to do.

DSCN3237

I wasn’t sure what I wanted on all of my nails besides Chowder and Shnitzel, but when I was looking up Chowder pictures, I knew an easy and fun pattern would be Truffles’ mushroom hat.

DSCN3241

I’m not going to list all of the polishes used, but I’ll state the base colours. The Green is China Glaze – Tree Hugger. The yellow is China Glaze – Solar Power. The pink is Nicole by OPI – Be Ama-zing!, and the orange is Sally Hansen – Sun Kissed.  I used a black Stripe Rite to outline the characters (which wasn’t the smartest idea. I should have used a detail brush, but was too lazy to find a nice precise one). If you want to know the other polishes used, let me know :)

DSCN3236

What cartoons did you watch as a kid?

Rada Rada!

Saturday, August 17, 2013

Special K Giveaway

Today I will be hosting my very first giveaway! It's not much, but it's a start, right? A giveaway is long overdue for this blog!

This giveaway features the Nicole by OPI Special K polish collection. I already have a set, and don't need two, so one of you readers will be lucky enough to get one too!


Due this being my first giveaway, and shipping regulations, this is only open to Continental U.S. readers.

Rules:
Open to Continental U.S. only
Must be a reader
Must be 18 or older or have parents permission
Winner must respond to my email within 48 hours or I will choose a new winner

This giveaway ends August 31, so enter now!!

a Rafflecopter giveaway

Again, this is my first giveaway, and my first time using Raffelcopter, so please let me know if there is anything wrong with it!

Thanks for your growing support!

Thursday, August 15, 2013

Guest Post: Josephine from Rainbows in a Jar

Today’s guest post is from Josephine, over at Rainbows in a Jar. She’s prepared an incredibly lovely post for us.

____________________________________________________________________________

Hello ladies!

First of all, let me introduce myself. I’m Georgiana, or as I prefer, Josephine behind “Rainbows in a jar” and it’s such a pleasure for me to be here. I would like to thank Abby for inviting me on her lovely blog, this is actually my very first guest post and I’m so excited and honoured!

SONY DSC

The manicure I prepared for today is quite simple but I hope you’ll like it. I really love gradients so here’s what I did. I started by applying two coats of the pastel lavender color and after I let it dry for a while I took a make-up sponge and created the gradient. But that’s not it. I decided to spice it up with some black and white glitter and a heart shaped pearl embelished accent nail. I enjoyed wearing this design, it’s a bummer that those pearls fell off really quickly. I’ll admit though that it was my fault too, I couldn’t stop myself from touching my nails. Do you manage to wear a caviar manicure properly?

SONY DSC

In case you’re curious the polishes used are Hello marshmallow! and Oh my glitter from Essence, an amazing yet affordable european brand. The micro pearls are from Essence too and the black and white glitter is Hard Candy’s Black tie optional.

rainbowsinajar3 (1)

Kisses to you all!

____________________________________________________________________________

Aren’t they gorgeous! Now that I have my own Black Tie Optional, I may have to recreate this mani!

Be sure to head on over to Rainbows in a Jar to see more from Josephine!

Wednesday, August 14, 2013

Black and White Rainbow Birthday Nail Art

Today’s original post crashed, then my last minute plan crashed, so this is what we have today. Birthday nails. I can’t pass up an opportunity to paint cupcakes on my nails! They are just too cute :)

DSCN3169

The white used is NYC – French White Tip. THe black used is Art Club – Black. The rainbow polishes are as follows (from red to purple): a red Lacura, Sally Hansen – Sun Kissed, Sally Hansen – Mellow Yellow, OPI – Green-Witch Village, Love & Beauty – Turquoise, L.A. Colors – Tropical Breeze. The gold polish is Funky Fingers – Down To Earth. The glitter on the cupcake is L.A. Colors – Sparkling Diamonds and Wet n Wild – Party of Five Glitters. The black and white glitter is one of my birthday gifts, and is Hard Candy – Black Tie Optional (my first black and white glitter! Whooo!!)

DSCN3166

DSCN3172

DSCN3171

Tomorrow will be the last guest post of the week, and it’s just as lovely as the two previous manicures!

Have a great day! Do you own any black and white glitters?

Tuesday, August 13, 2013

Guest Post: Heather from Peace, Love and Polish

Today we have Heather joining us, showing off her beautiful vintage manicure!
 ____________________________________________________________________________
Hey Guys! It's Heather from Peace, Love and Polish and I am so thrilled to be guest posting here on Nail Treasures! I love to do guest posts to help out my fellow bloggers, and when I was asked to do one here - I immediately jumped on the boat! So let's get into what I have in store for y'all today!

I decided to go with a vintage look with some roses, stripes and polka dots. I was inspired to do this design from Instagram user @lilyzhen168. I immediately fell in love with her design, so I knew I had to do it! I've always loved vintage looking nails, and the colors were perfection together!


For this design, I used OPI Red Lights Ahead... Where?, China Glaze Too Yacht To Handle and OPI Alpine Snow. The small green petals are China Glaze Holly Day. I used a striper brush for the pinky, a dotting tool for the thumb and ring fingers & then for the flowers I used my dotting tools and just swirled around the red and white. 


I really, really love this design! Like I said before, the colors are perfection together - I just can't get over it :)

____________________________________________________________________________
Big thanks to Heather from Peace, Love and Polish for helping me out today! Be sure to check out her blog!
There's one more blogger scheduled to guest post for me this week, and a few more fun posts from myself, so stay tuned!

Monday, August 12, 2013

How To Fix A Wonky Nail Brush

Have you ever bought a striper polish, and once you come home to admire its beauty you realized the brush is completely unusable? This happened to me the other day, and instead of throwing it away or going through the hassle of using a nail brush dipped into it and cleaning it off each time, I decided to fix it.

Today, I will be showing you how to fix yours, as well. The one I recently purchased was already fixed by the time I decided to do a post about it, so here is an old black Stripe Rite Striper. It got wonky a long time ago so I trimmed it, but that seems to have made it worse.

DSCN3132

First step to fixing your brush is to seal the bottle so it doesn’t dry up or get goopy. I used saran wrap and pressed along the rim to ensure no air was going to get trough. Then I pressed the rest around the neck of the bottle to make sure it wasn’t going anywhere.

DSCN3135

The next step is to clean the brush off. Since Stripe Rite is acrylic paint, I just ran it under running water. If you are fixing an actual polish brush, you are going to want to use nail polish remover and a paper towel to wipe off the polish.

DSCN3140

Next, you are going to cute two small pieces of aluminum foil and tape one to some cardboard. You can use a notebook. I do not suggest paper because it is too flimsy.

Once you have a square of foil attached to your cardboard, take the other piece of foil and prep it by taking a strip of tape slightly longer than it, and place it so the tape just hangs off of the edges.

 DSCN3147

The next part is a little tricky. You are going to want to wet the clean brush, and reshape it. If there are some stray hairs, you can use a little bit of hair gel to smooth them. I also found that twisting the hairs helps to smooth them and keep them together.

Next, you are going to place the brush onto the foil and tape the other foil on top of the brush.

You are going to have to hold the brush from slipping with one hand, while you take a hair dryer in your other. Place the hair dryer on hot with low power. You will only need to hold it there for a few seconds. I held it 3-4 inches away from my brush straightener :)

It isn’t a smart idea to use a hair straightener because it will most likely melt the brush. I didn’t try this, but logic shows high temperature metals easily melt plastic.

DSCN3148

The next step is to check your brush to make sure it is ready to go back in the bottle. At this time, if there are any hairs that won’t cooperate, go ahead and trim them. Also, if you used any hair gel, you are going to want to rinse it out with water.

You can also take this time to thin out your polish/paint if it is a little too thick. The thickness could have been a cause in your wonky brush. To think out my Stripe Rite, I used a few drops of water. DO NOT stir it around with your newly shaped brush. It could cause it to go back to it’s useless form. I used a coffee stir with tape on the end instead. The tape is put on the end to keep the polish/paint from going into the straw. If you’re thinning out polish, use nail polish thinner.

DSCN3155

The next and final step is to put your brush back into your bottle, and enjoy :)

DSCN3159


Thanks for reading! I hope this little tip is useful to you all, and saves you from stressing over a bad brush.

Sunday, August 11, 2013

Guest Post: Jacquie from Claws Up!

Hey guys! Today I am so excited to be kicking off a fun week of posts! I asked a few fellow bloggers to help me out, and one that jumped on board was Jacquie, who is here today to show us her glamorous manicure!

____________________________________________________________________________

Hello Nail Treasures readers :) My name is Jacquie, or LittleMonsterx14 of Claws Up! I am very honored to have been chosen by Abby to guest post on her blog. I absolutely love all of her amazing nail art and I am so happy to be able to be a part of her blog today :)

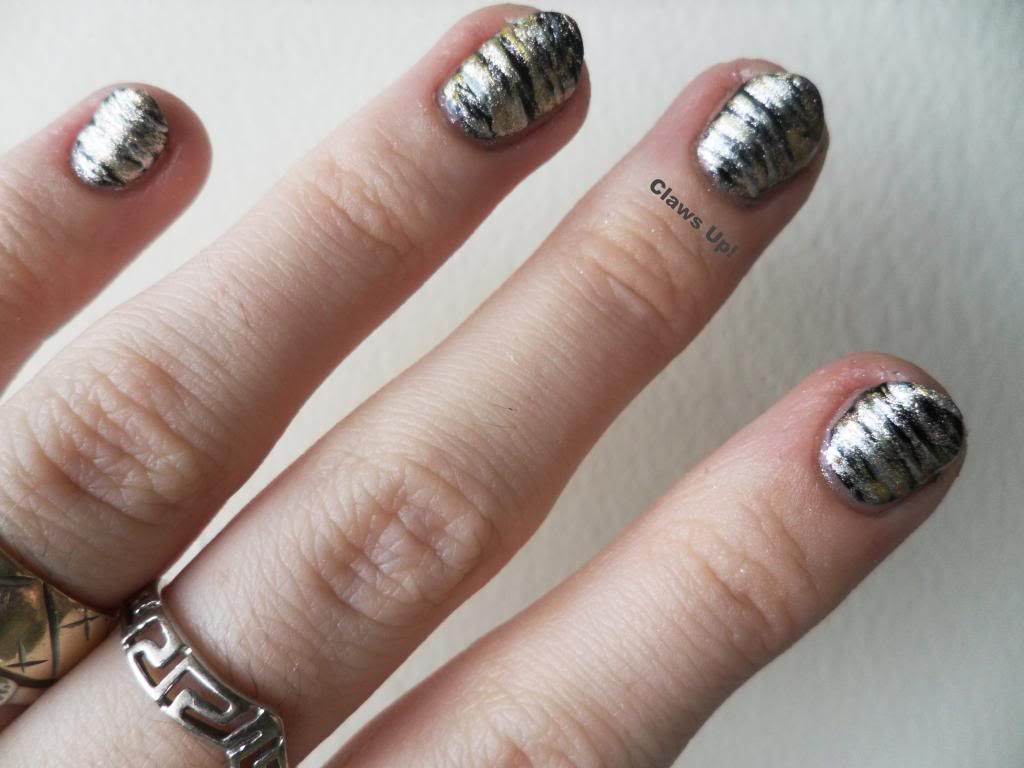
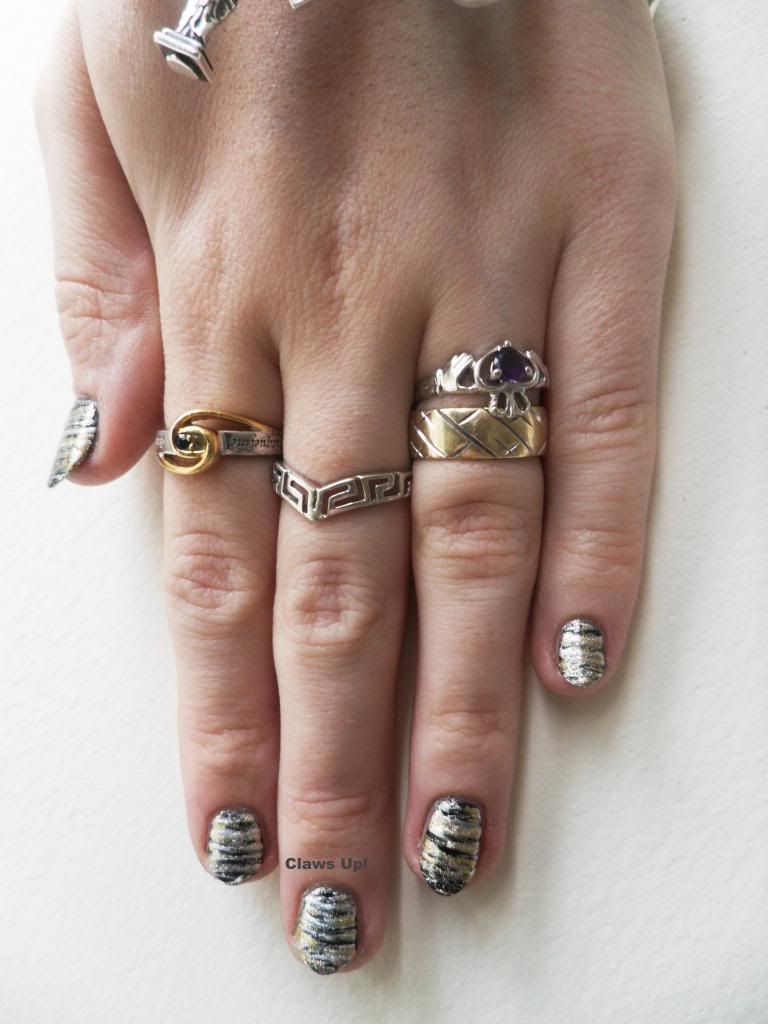
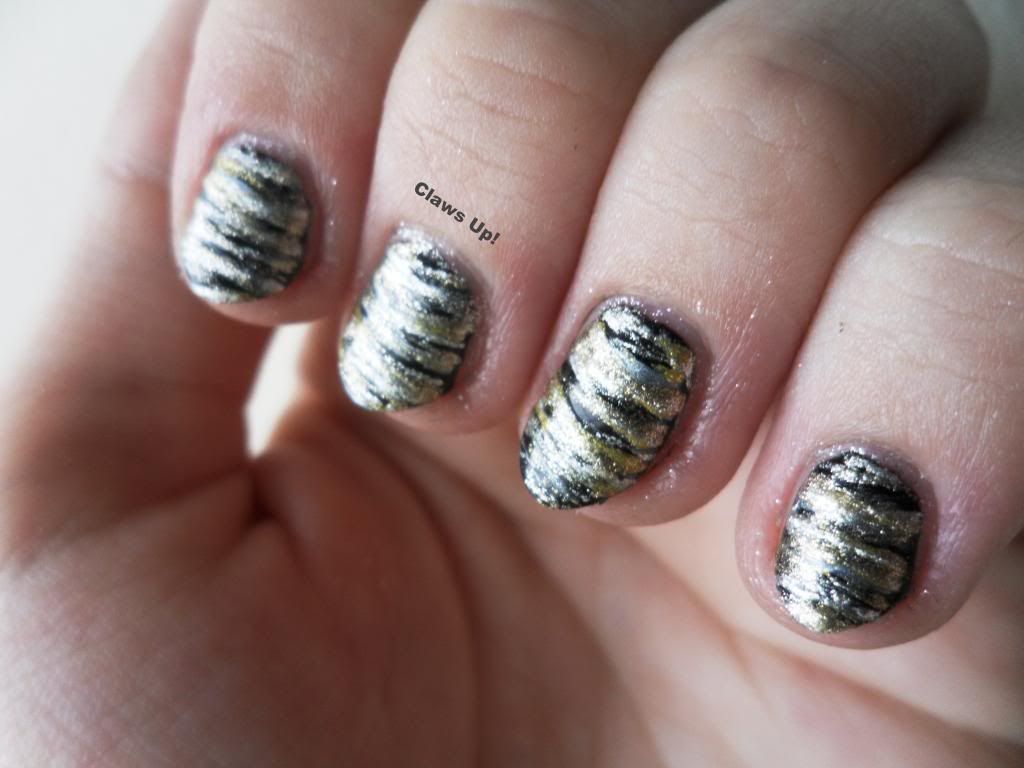
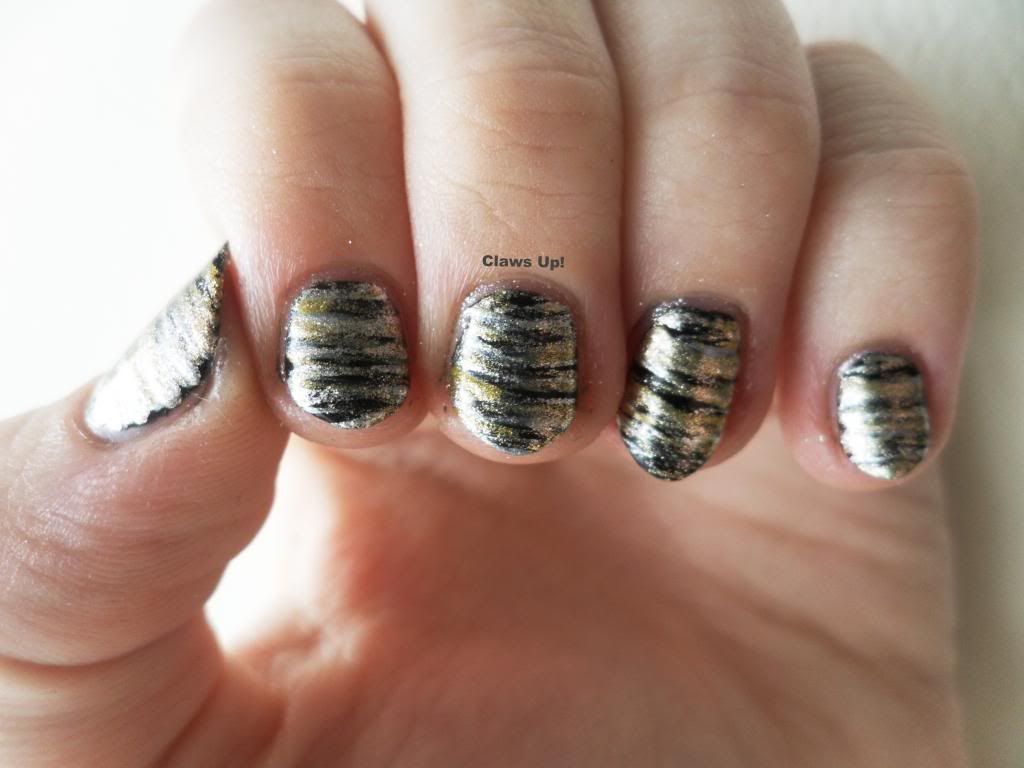
When I was figuring out what I wanted to do for this post, I decided that I wanted to try a technique that's new to me: the fan brush method. I know this style as been around for a while, but I actually have never gotten around to trying it myself, until now. I grabbed a few colors, my fan brush, and got to work!

 photo 012_zpsdd911698.jpg

 photo 014_zps18a29afc.jpg

 photo 015_zps6966faf7.jpg

 photo 016_zps3b201fd5.jpg

 photo 018_zps8d605c71.jpg

 photo 019_zpsc9d5328a.jpg

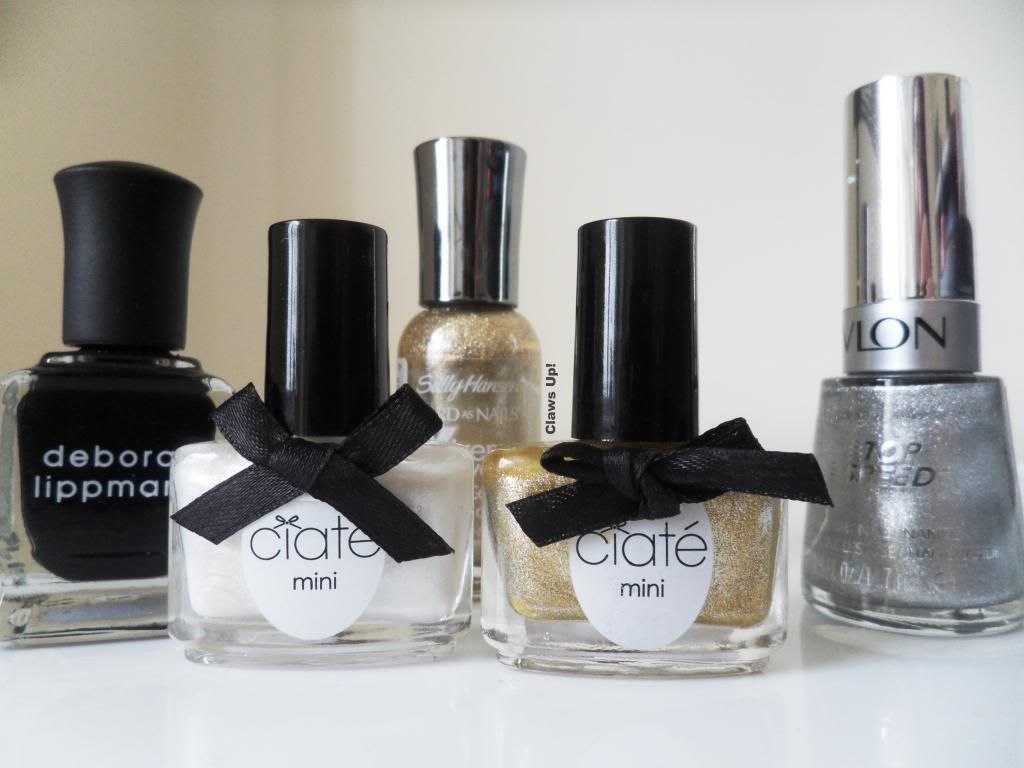
The Line Up:

 photo 022_zps23076719.jpg

Deborah Lippmann in Edge of Glory Base Color
Ciate in Angel Wings
Sally Hansen Xtreme Wear in Golden-I
Ciate in Ladylike Luxe
Revlon in Metallic

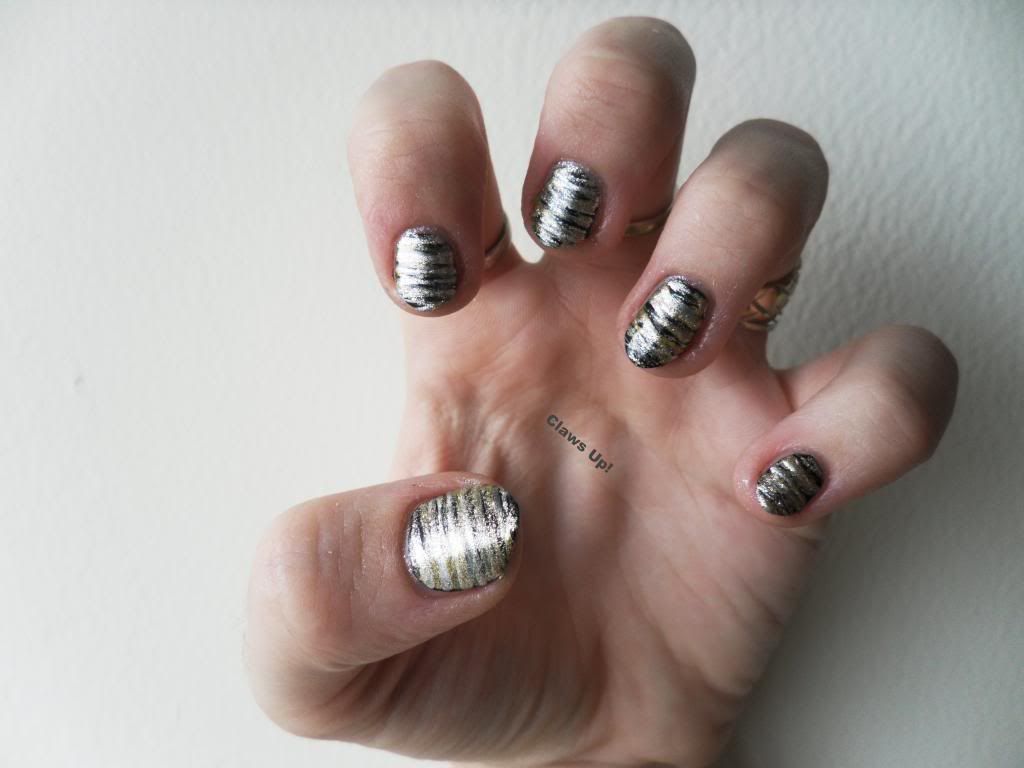
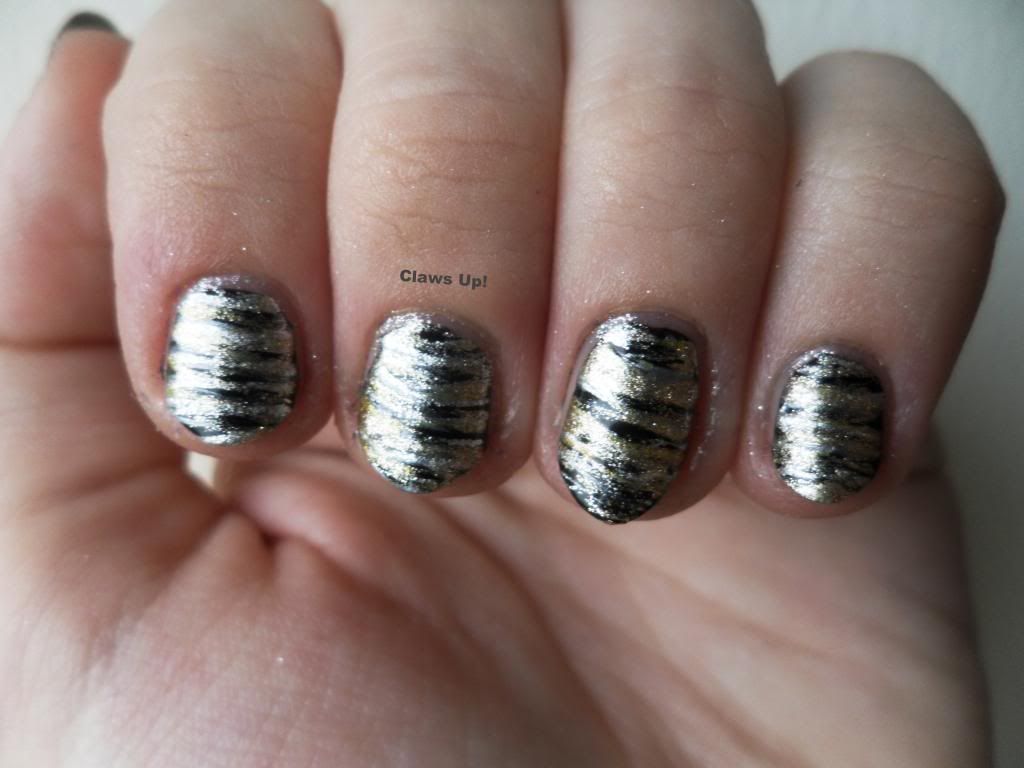
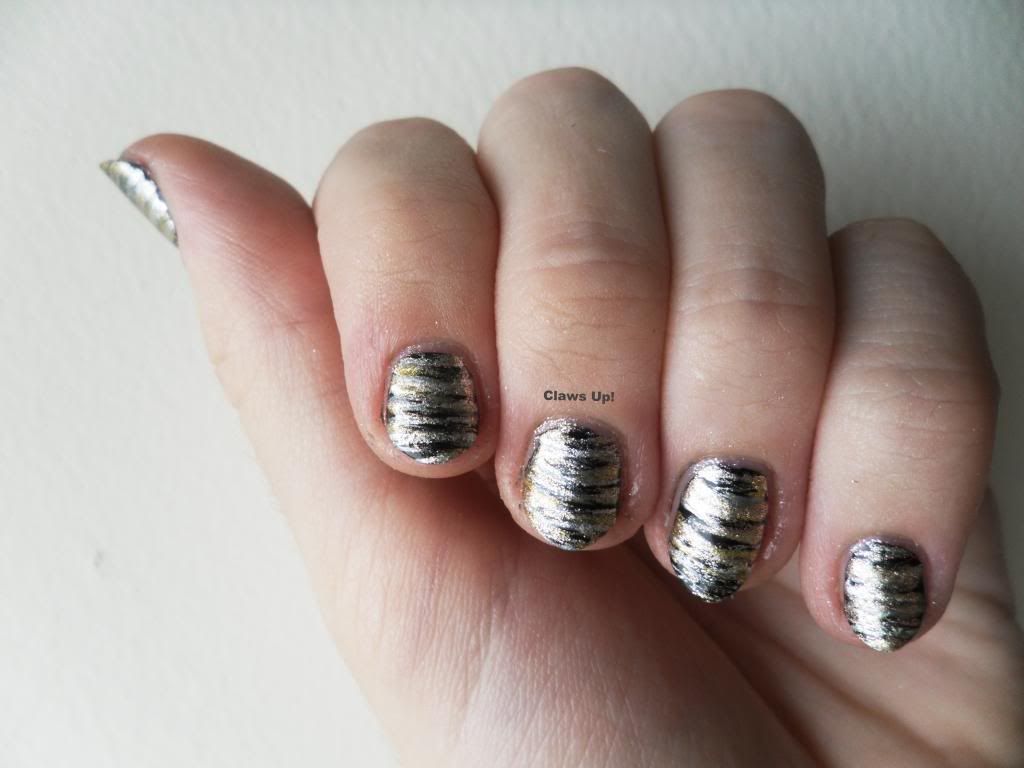
I really liked this look! Using the fan brush created a very interesting stripe pattern. It is definitely a fun and easy technique.  I was really happy with how the colors looked together too. All the different metallic finishes worked well together and I love how you can see just a bit of black poking through. I can't wait to do another fan brush manicure!
Do you like the fan brush look? Have you tired it out?

Claws Up!

 photo 021_zps5f3e53df.jpg

Thanks times a million again to the wonderful Abby for letting me take over her little corner of the blogosphere for the day. Bye everyone!
____________________________________________________________________________

Big thanks to Jacquie from Claws Up for guest posting today!! Be sure to check out her blog!

Stay tuned for the rest of the week's fresh posts :)


Wednesday, August 7, 2013

Mix and Match Yellow and Pink Nail Art

Such a creative title, I know. You know how there are just those posts where you look at the pictures and say, “Gah, what is a suitable and describing title that isn’t too lame?” Well this was one of those times. But let’s admit it- I’m not too creative with my titles. I do that on purpose; I think that if I have plain and simple titles then more people searching for that will have a better chance of landing right here, on this blog. *fun fact, minus the fun*

Aaaaaanyhow, I had these nails on last week, and I was feeling kind of glum and blah, so I decided to go for some cheery colours to use. Pink and yellow it was!

DSCN3069

DSCN3063

For the pink I used Nicole By OPI – Be Ama-Zing!. The silver polish I used is L.A. Colors – Live. The holographic glitter is Venique – Twinkling Glitter. The yellow I wish I never used was Orly – Hook Up. Hook Up stains my nails sooooooo bad every time I use it. Even with two coats of base coat this time, it still left my nails a bright yellow. So, if you have any miracle products or DIYs for removing awful stains, please send them my way!

The feather decals are from Born Pretty. I reviewed them here, and remember to use my code (CY5J61) if you’d like to purchase them (or anything else) from their site :)

DSCN3056

Well, my friends, that’s about it! I still have some posts to catch up on, so hopefully I’ll get into photo editing mood :)

Friday, August 2, 2013

Pretty Little Liars “A” Nail Art

When I changed my nails on Tuesday, I was unsure of what I wanted to paint on them. I finally decided to paint them to the theme of Pretty Little Liars. This show is definitely my guilty pleasure! I think this addiction started when I was in 10th grade. I needed a common topic to discuss with my fellow lunch mates at my table, and they always talked about PLL, so I watched it one night. Now the rest is history.

DSCN3036 

When I went into it, all I knew was that I wanted the red “A” on a vampy background. I took this opportunity to finally use an unused e.l.f. – Plum. To make the “A,” I used a worn detail brush dipped in white polish and flicked it around to create a jagged “A.” I then used L'Oréal – Caught Red Handed to do the same over the white. For the rest of my nails, I went for a simple glitter gradient using New York Color – Big City Dazzle, with a base of Jesse’s Girl – Stiletto.

DSCN3032

DSCN3039

Thanks for reading! Do you have a guilty pleasure TV show? Is it Pretty Little Liars?